I am applying for the Viva Las Vegas Stamps Design Team, I am very excited for the chance to be part of this team, and LOVE using the unique designs they have.

For my first project I created a card using Viva Las Vegas Stamps "Welcome to Fabulous Las Vegas" and "Heart, Spade, Club, Diamond 1 1/2" Cube".
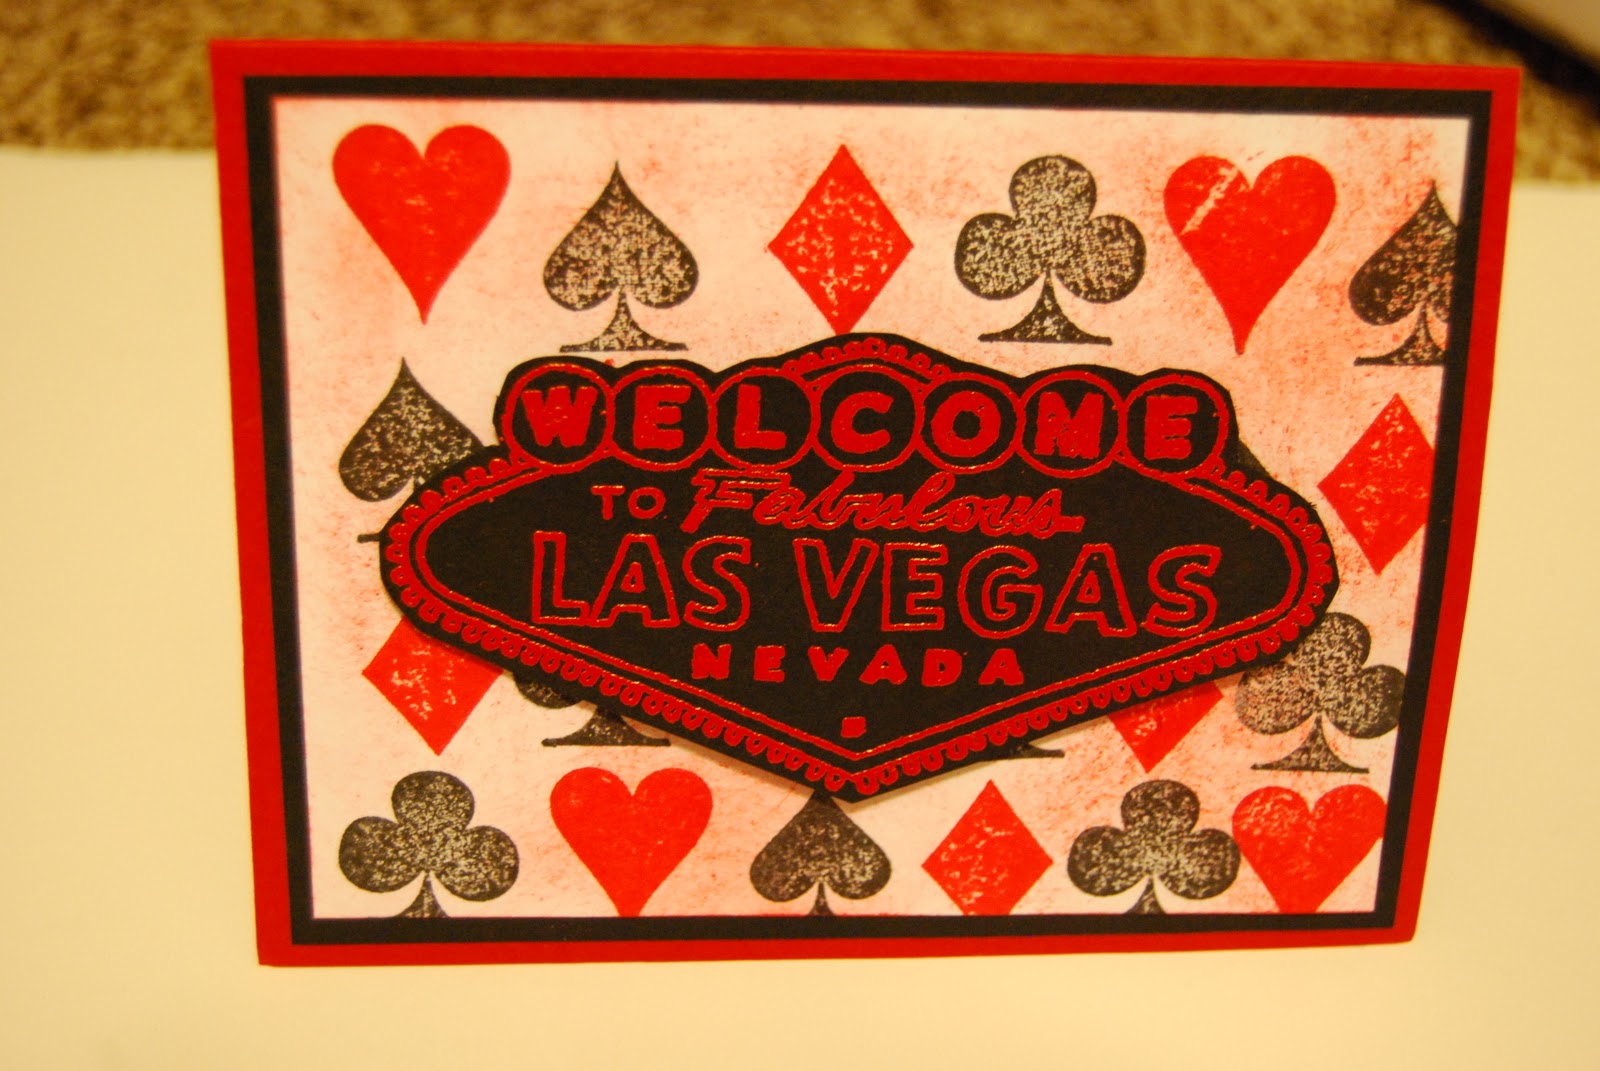
I started out with a piece of Neenah Solar White paper cut to 5"x3 3/4". I then got out my "Heart, Spade, Club, Diamond 1 1/2" Cube" and Tim Holtz Distress Inks: Barn Door, and Black Soot. I stamped the suits in there corresponding color. For the first row I stamped the Heart in Barn Door, then the Spade in Black Soot, the Diamond in Barn Door, the Club in Black soot and repeated til I was out of room. For the next row I started with the Spade and repeated the rest of the suits. The third row is started with the Diamond, and the fourth row with the Club. Be careful not to ink the wrong suit in the wrong color, a black heart or a red club wont give the same effect. (This is an awesome way to use a stamp to create your own paper)
Next I got out a stipple brush, and stippled around the stamped images with the Barn Door ink, This softens the white between the suits.
I cut a piece of black cardstock to 5 1/4"x 4" and attached the white piece with the suites stamped on it to it. I cut a sheet of 8 1/2" x11" cardstock in half at 5 1/2" and then scored it at 4 1/4" to create an A2 card, then attached the back and white card stock to it.
I set the card base and background aside and pulled out my "Welcome to Fabulous Las Vegas" Stamp, VersaMark ink pad, Candy Red Embossing Powder and my heat gun. I stamped "Welcome to Fabulous Las Vegas" on to a piece of black card stock in the VersaMark ink. I then poured Candy Red Embossing Powder on to it. I covered the entire image, then poured the excess Embossing Powder back into the bottle. I then heated the image until all of the Embossing Powder was melted. I let it cool for a few minutes, before cutting around the image with a pair of detail scissors. I used mounting foam to pop it up and centered it on the background I created earlier with the "Heart, Spade, Club, Diamond 1 1/2" Cube" Stamp.
The second card I created uses Viva Las Vegas Stamps "Labrador Retriever Dog"


I got out my Spellbinder Nestabilities Labels One and my Cuttlebug. I centered the die around the image and cut it out. I got out some blue paper and cut out the size above what I had used for the stamped image and cut out a mat to match.
I found some ribbon with muddy dog prints on it, and cut a piece just bigger then my card. I found my Xyron X Sticker Maker and ran the ribbon thru it.
I cut a peice of gray paper to 5 1/4" x 4" and attached the ribbon to one side of it. I cut a sheet of green card stock(8 1/2" x 11") in half at 5 1/2" and then scored it at 4 1/4" to create an A2 card. I attached the gray paper to the green card base, then used foam tape to pop up the stamped image and its mat up.
Try some of these techniques out and see what you can come up with!
Hope you enjoyed!

2 comments:
What a wonderful post. Great cards, directions and LINKS> you made me happy.. :-)
Love them, thanks for sharing and good luck on getting on the Design Team!
Post a Comment