Thursday, September 1, 2011

Viva Las Vegas Design Team.

Hello,
Today I am trying out for the Viva Las Vegas Design Team. Here is the project I created for them, It is a sign to hang over the my box of dog food. I hope you enjoy!


Supply List:
Viva Las Vegas: Dog Playing with Ball 3" x 2 1/4"
All Chipboard is from Maya Road
Tim Holtz Distress Crackle Paint : Picket Fence, Brushed Corduroy
White Acrylic Paint and a paint brush
Versafine: Smokey Gray
Smooch: Snickerdoodle, Siren, and Cape Cod
Brown Ribbon
Crop-A-Dile

The first thing I did was paint the chipboard background with the Picket Fence Crackle Paint, and the letters with the Brushed Corduroy Crackle Paint, then set them aside to dry.


Then I painted the smaller white scallop square with white acrylic paint (using a paintbrush).

Once they were all dry, I got out my Crop-a-dile and punched holes every other scallop on the large chipboard and in the corners of the square.
I then stamped the Dog Playing with Ball stamp on the smaller white scalloped square in Versafine Smokey Gray

Next I colored the dog with with Smooch: Snickerdoodle, Siren, and Cape Cod.


Then I threaded the brown ribbon thru the holes I punched earlier with the crop-a-dile and used the ribbon to attach the smaller square to the bigger one. I punched to additional holes in the corners to create a place to attach a string to hang this sign.


Thanks for visiting!

Friday, August 26, 2011

Festive Friday Blog Hop!

Happy Friday Everyone!

Today you should have hopped here from Leslie Rahye's Blog. 


This card will be part of my Cards for a Cure #2 in September at The Stamp Addict!

This class will contain five cards using Memory Box Stamps, and all Proceeds will be donated to the MDA telethon on Labor day. 
Next you will hop on over to The Robin's Nest Blog!


Thanks for stopping by!


Thursday, August 18, 2011

One Card Four Ways!

Hello Everyone!

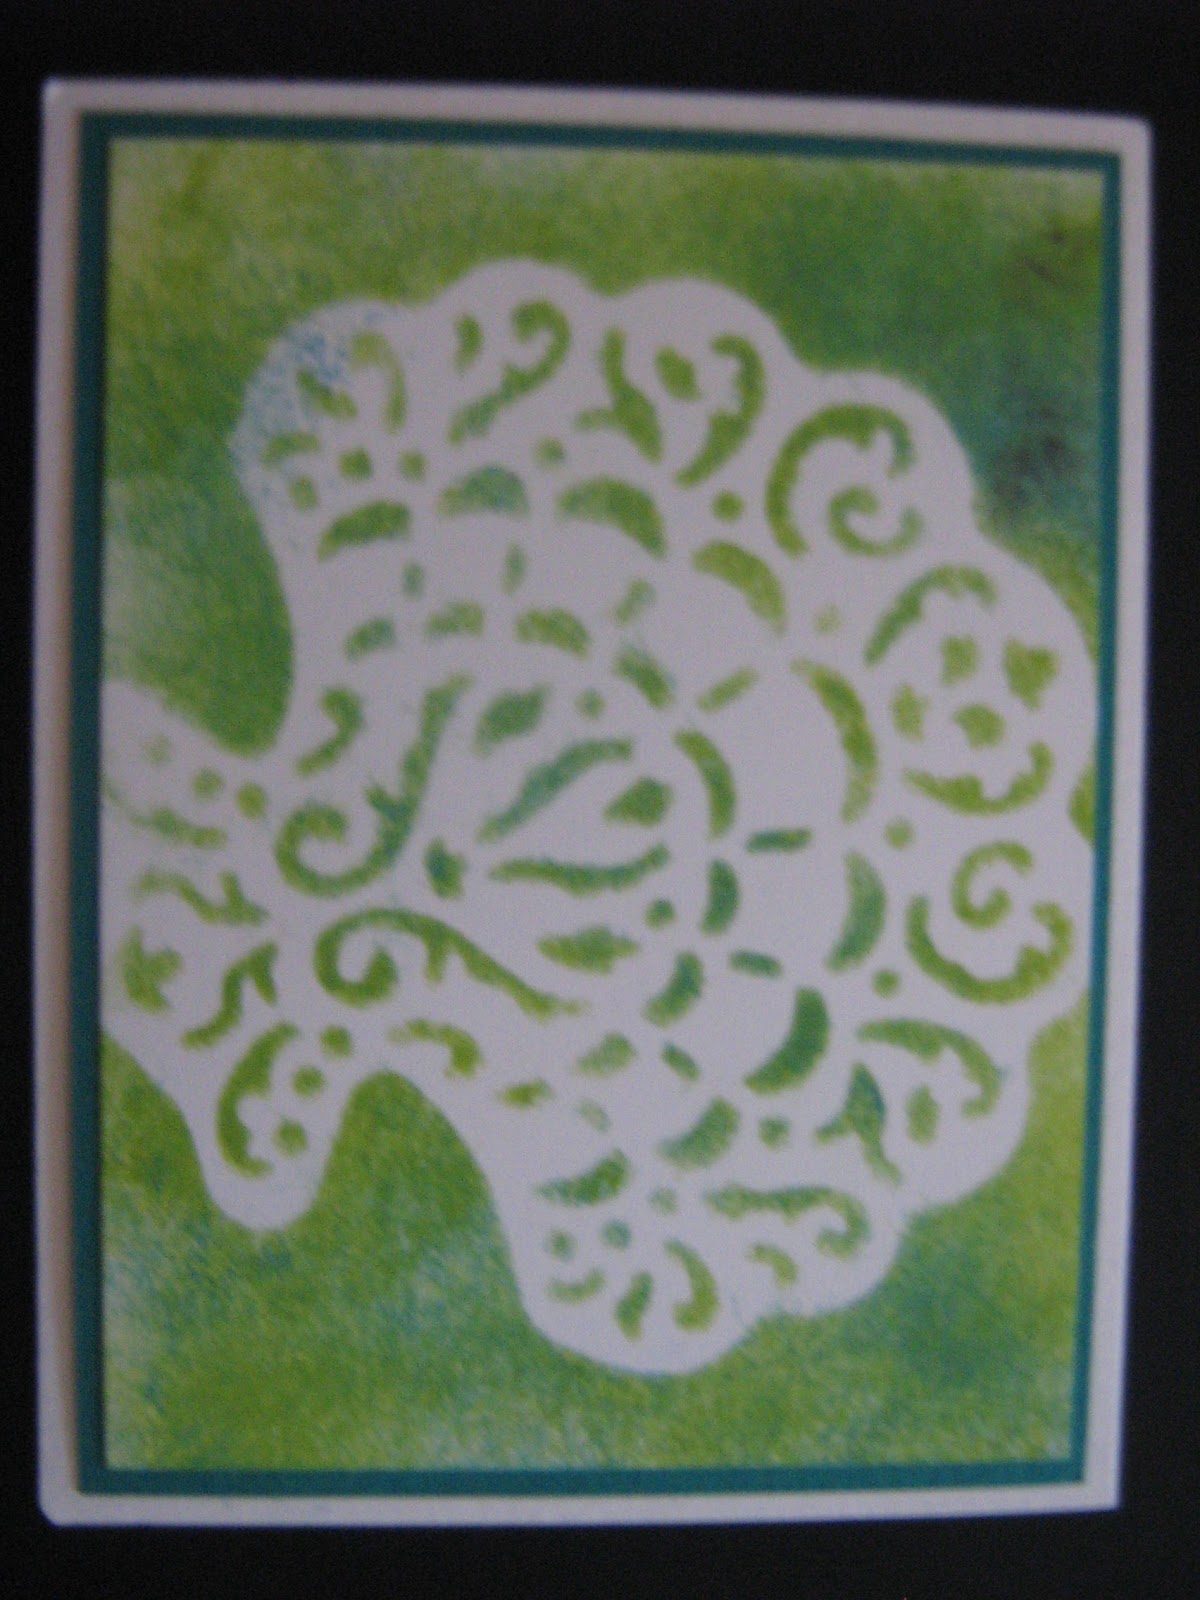
Have you ever stippled before? Well today I am going to show you four cards created will ALL of the same products, and they all look different!
All cards are created with :
Tattered Angels Sea Side on the Beach Stencil Set - The Sea Shell
Color Box Cats Eyes Pigment Colors: Citrine, and Cyan
A Blue and a Green Stipple Brush,
and White Cardstock

All I did was place the shell on the white card stock and stipple over it with the blue and green.  You will see in the samples below that using more of one color or the other, or even going darker/lighter will create very different looks.

Stippling: if you have not stippled before, you need a larger paint brush, or a stipple brush ( it will have thinker stronger bristles) and you tap it on to your ink pad, then tap it on to the paper. You dont need a stipple brush for every color you use, just one for each color family, (Reds, Blues, Greens, Purples, Yellows, Oranges...)


Tuesday, August 16, 2011

OWH Sketch Challange #82

Hello Everyone,

When I saw this sketch on the Operation Write Home Stars and Stamps Blog I knew I had to participate, and exactly what I was going to do with it!


This Card will also be part of "Card-A-Palooza" Which i am teach this Friday at The Stamp Addict in San Diego.  How it works is you have 4 hours to create up to 15 cards.  All cards are kitted with insturctions with them, and you will be provided everything you need to complete al 15 cards.  This class is a self motivated, work at your own pace class.  Any cards that do not get completed ( if you only get 14 of the 15 done) will be assembeled and donated to Operation Write Home. The cost of this 4 hour night of fun is only $30 (Thats $2 a card if you get all 15 done!) Its the perfect chance for you to get together with friends and have a fun evening.  There are still a few spots left you can call 619-667-5060 to sign up. 

Have a great day everyone!

Sunday, August 14, 2011

Meet Chompy

Hello Everyone.

I a few months ago I was asked by Karen from Your Next Stamp to be a guest designer for there Challange Blog.  I was very excited for this honor and today I want to share with you one of the cards I did for them, which I also taught in my Card-A-Palooza class in July. 


The Stamp is "Chompy" by Your Next Stamp.  It was colored with Copics (BG45, BG49, BG53, YG05, YG03, YR12, YR15)

Thanks for stoping by!

Friday, August 12, 2011

Festive Friday Blog Hop!

Happy Friday Everyone!
Today you should have hopped here from Leslie Rahye's Blog. 


This card will be part of my Magenta Christmas Class in September at The Stamp Addict!

The Stamp is 3 Xmas Trees in Circle from Magenta Rubber Stamps,  and Ivory Flower Soft is used inside the shaker and on the front. 

Next you will hop on over to The Robin's Nest Blog!


Thanks for stopping by!


Wednesday, August 10, 2011

Glitter Cards 101!

So I have gotten the question "how did you do that" on my glitter cards alot, so here is the answer! Its a technique I teach often and is super simple and makes for a quick and easy card with lots of shimmer!
The supplies needed to make a card like this is a Background Stamp, Elizabeth Craft Design 155mm Be Creative Tape and Micro Fine Warm Highlight Glitter

Fist thing I did was stamp Impression Obsession Cover-A-Card  "Rose Lace" (CC087) on a pice of white cardstock in Adirondack Dye Ink (Pool).  The Mega Mount (made by Impression Obsession) is made to help you stamp a large background evenly.  It is an amazing tool! 


Next I layed the stamped paper on to the roll of the Elizabeth Craft Design Be Creative Tape 155mm with the stamped side DOWN.  The Tape is clear so you will be able to see thru the tape to the design after the glittter is down. 


I cut around the paper with an exacto knife ( a non-stick pair of scissors will also work).  I flip the paper over and pull off part of the backing, revealing the image, and pour the Elizabeth Craft Design Warm Highlight over it.  (You never want to touch the sticky part, so i only peal part off, and cover the edge with glitter to give myself somewhere to hold while i do the other half.)

Once you have the intire thing covered in glitter, you want to take a Blush Brush and brush off all of the excess glitter.  Then you need to rub your finger over the glitter to burnish the glitter with your figer to help secure it to the tape. 

Next I secure the paper to my card and I am done.


Below are a few other cards I have made with this technique.  All of them are using Impression Obsession Mega Mount Stamps, and some are colored with copics.


Hope you enjoy!